How to Build a Professional Planner Journal Mockup for Etsy Using Canva
Creating a planner journal for Etsy involves more than designing the interior pages. The mockup you use to showcase your product can determine whether a buyer clicks or scrolls past. A well-crafted mockup bridges the gap between your digital file and the customer’s imagined experience. When you combine a Planner Journal Etsy Canva Mockup approach, you integrate design, marketplace requirements, and a practical workflow that saves time while improving your store’s visual appeal.
This article walks through where mockups fit in the creation process, how they interact with your tools and decisions, and how to implement them smoothly whether you’re a new seller or a seasoned shop owner. The focus is on practical execution, not hype.
Understanding the Role of a Mockup in Your Workflow
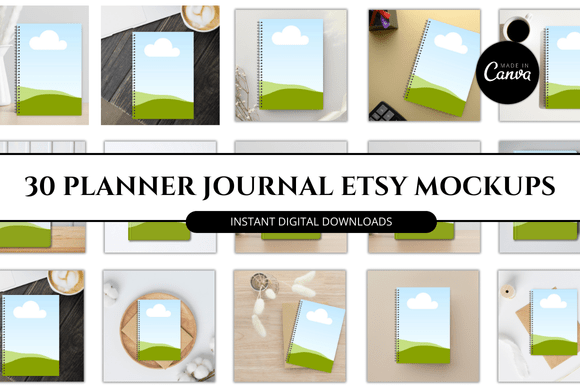
A mockup is a realistic representation of your finished product, placed in a context that helps buyers visualize owning or using it. For a planner journal, the mockup might show the cover, the binding, and sample interior layouts on a desk, in a bag, or held in a hand. It is not the product itself but the packaging for your digital file.
In the broader process of selling on Etsy, the mockup appears before a customer makes a purchase decision. It also plays a role after you finalize your design, as you update listings or create new variations. Some sellers build the mockup during the design phase, using it to test color schemes and layout realism before committing to the final interior.
Using Canva to create your mockup means you can keep everything inside a single design tool—no need to jump between software for photo editing, scene creation, or text overlays. This integration simplifies your workflow, especially if you already use Canva for your planner pages.
Getting Started: Preparation and Asset Collection
Before opening Canva, gather the assets you will need. A clean process saves you from hunting for files later.
- Your planner interior as a PDF or flattened image — export a few sample pages that show the layout, fonts, and color palette.
- Cover mockup templates — look for Canva templates designed for notebooks, journals, or planners. Many free and premium options exist that include realistic shadows, rounded corners, and adjustable backgrounds.
- Brand elements — your logo, shop name, and any consistent color codes you use across Etsy.
- Scene photographs or stock images — if you want a lifestyle mockup, find or shoot images of desks, hands holding a book, or workspaces. Canva’s library offers many free stock photos.
Keeping these assets in a dedicated folder inside Canva or on your computer will maintain organization as you produce multiple mockups for different planners. Consider naming your files with the planner title and version date for easy retrieval later.
Building the Mockup in Canva: A Practical Approach
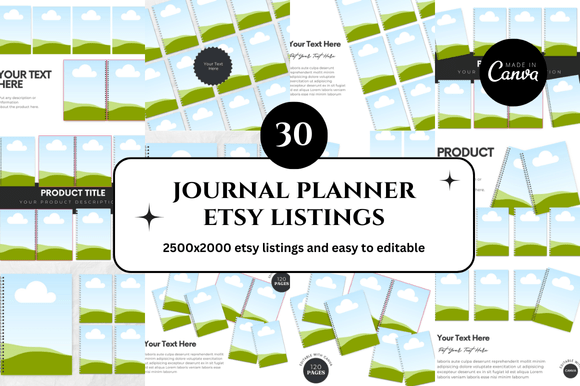
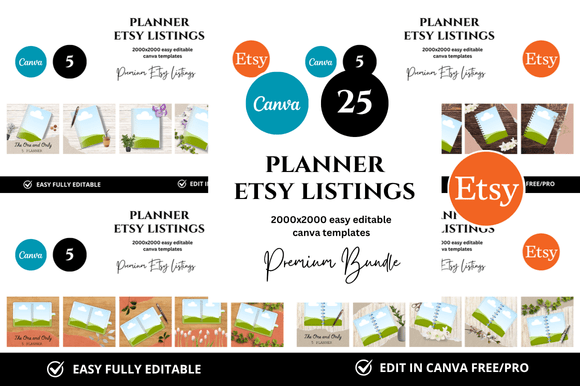
Start with a new Canva design using custom dimensions that match Etsy’s recommended listing image sizes: 2000 x 2000 pixels is a safe square that works well on desktop and mobile. Square images also allow you to crop for the thumbnail without losing key elements.
Here is a typical workflow:
- Add the background scene. Choose an image that feels natural for a planner—like a desk with a cup of coffee, a laptop, or a sunny windowsill. Avoid cluttered backgrounds that compete with your product. The purpose is to enhance, not distract.
- Place your planner cover mockup. Use a Canva mockup template that allows you to insert your own cover design. Many templates are smart objects: you double-click, upload your cover image, and Canva automatically maps it to the 3D shape. If you are using a flat mockup, simply overlay your cover and adjust the opacity or shadow for realism.
- Add interior sample pages. For planners, showing a spread (two open pages) helps buyers understand the layout. Use the same mockup technique if the template supports it, or cut out a rectangle, add a subtle shadow, and place it on top of the cover or beside it.
- Include supporting elements. A pen, sticky notes, or a bookmark can reinforce the planner context. Keep these small and secondary so the planner remains the focal point.
- Add your listing text and logo. Include a title or key feature bullet points directly on the image—but leave enough negative space so the mockup remains clean. Fonts should be easy to read at thumbnail size.
Once the design looks good, download it as a high-resolution PNG. Canva defaults to PNG for transparency, but for listing images a JPEG with 100% quality often reduces file size without noticeable loss. Etsy allows images up to 10 MB, so stay under that.
Integration with Your Etsy Listing Workflow
The mockup you create becomes the hero image for your listing. But it also interacts with other decisions:
- Listing photos strategy. Use your main mockup as the first image, then follow with a clean flat image of the cover, a sample of interior pages, and perhaps a second lifestyle mockup showing the planner in a different scene. This variety builds trust and helps buyers imagine the product in their own environment.
- Compatibility with Etsy’s image guidelines. Etsy prefers images that are clear, well-lit, and show the product accurately. Your Canva mockup should match the color and layout of the actual digital file. If you adjust colors in the mockup for aesthetic reasons, update your interior palette to match, or note the difference to avoid refund requests.
- Updates and long-term use. When you release a new version of the planner—adding more pages, changing dated content, or refreshing the design—you can reuse your Canva mockup template. Just swap the cover and interior screenshots, and regenerate the images. This efficiency means you spend minutes on updates instead of hours.
Quality Control and Consistency Across Your Shop
Buyers who browse multiple listings in your Etsy shop expect a cohesive visual experience. If each planner uses a different style of mockup—some in bright sunlight, others against dark wood—your shop can feel disjointed. Consistency helps build brand recognition and signals professionalism.
To maintain consistency, create a single Canva template that you reuse for every planner journal. Keep the same background, lighting direction, and angle of the mockup. Only change the cover image and visible interior pages. You can also save your colour palette in Canva’s brand kit so every text element remains on-brand.
During quality control, check the following:
- Resolution. Zoom in to ensure the text on your sample pages is legible. Blurry mockups can lead to negative reviews.
- Shadows and reflections. Canva’s built-in shadow effects can be subtle or heavy. Adjust the opacity and blur so the planner sits naturally in the scene.
- Spelling and date accuracy. If your planner includes 2025 dates, the mockup should not show 2024. A mismatch confuses buyers and undermines trust.
- File size. Large PNGs may slow down listing loading times. Compress with Canva’s export settings or use a tool like TinyPNG.
Usability and Adaptability Across Different Planner Styles
Not every planner journal fits the same mockup. A weekly planner with horizontal spreads looks different from a daily journal with lined pages. Your Canva mockup should be adaptable enough to show the distinguishing features of each product.
For undated planners, you can show generic page layouts. For dated planners, choose a month or week that looks tidy. If your planner is a PDF that customers print at home, consider a mockup that shows the printed version with spiral binding or a ring binder—that signals the final physical product they will create.
Using Canva’s layers and grouping, you can build a mockup that lets you toggle between different interior page styles. For instance, keep one set of interior layers for weekly spreads and another for monthly overviews. Duplicate the mockup file for each planner type, then delete what you do not need. This approach avoids starting from scratch every time.
Practical Implementation Tips for Real Workflows
Sellers often ask when to create the mockup relative to the planner content. There is no single right answer, but many find it efficient to design the interior first, then create the mockup. That way you have the actual files to insert into the mockup. However, if you are using a pre-made Canva template for the planner itself, you can build the mockup in parallel.
Here are a few process-oriented observations:
- Batch your mockup work. Set aside an afternoon to produce mockups for your entire planner line. Loading similar templates, adjusting colours, and exporting all at once reduces context switching.
- Test on mobile. Etsy’s app shows square thumbnails cropped to a circle on some screens. Make sure the most important part of your mockup (the planner cover) stays centered and visible even when cropped.
- Solicit feedback. Before publishing, show the mockup to a friend or a fellow seller. Ask if the scale of the planner looks realistic and if the image conveys a clear idea of what they would get. Fresh eyes catch oversights.
- A/B test visuals. If you have the traffic, try two different mockup styles for the same planner. For example, one version with a clean white background and another with a lifestyle scene. Compare click-through rates in your Etsy stats to see which resonates more.
Long-Term Use and Evolving Your Process
As your shop grows, you may add new products like undated journals, budget planners, or gratitude logs. Your mockup workflow should scale with you. The template you create today can serve as a foundation for all future products if you build it with flexibility in mind.
Consider maintaining a master mockup file in Canva that includes all the elements you might need: four different background options, multiple shadow presets, and placeholders for both cover and interior images. When you start a new planner, make a copy of the master file, insert the new product images, and adjust the text. This reduces repetitive design decisions and lets you focus on selling.
Also, keep an eye on trends. Etsy shoppers’ preferences shift—minimalist mockups may give way to more textured, print-like representations. Revisiting your mockup style annually ensures your shop stays fresh. But avoid changing just for change’s sake. If your current mockups convert well, evolve slowly.
Final Thoughts on the Workflow Integration
The Planner Journal Etsy Canva Mockup process is not just about making a pretty picture. It is a systematic part of your product launch cycle that interacts with design, copywriting, listing optimization, and customer expectations. By treating mockup creation as a repeatable workflow rather than a one-off task, you save time and create a cohesive brand experience.
When you invest in preparation, use templates, and enforce quality checks, every listing benefits. The mockup becomes a reliable asset that helps buyers say yes. And because Canva is accessible and constantly updated, you can adapt your process without learning new software. That combination—practicality, repeatability, and integration—is what makes the approach effective for real sellers.